

Panopedia offers unrestricted and complete 360 views of the properties you wish to show. 360 cameras are excellent for this purpose, but as it is never truly "floating" in the air, the monopod or tripod will always be inevitably captured in the scene. With these two simple tools, we can show you how to hide your monopod/tripod in the scene.
- PhotoScape X (Free for download on Mac OS app store and Windows Store)
- https://www.nadirpatch.com
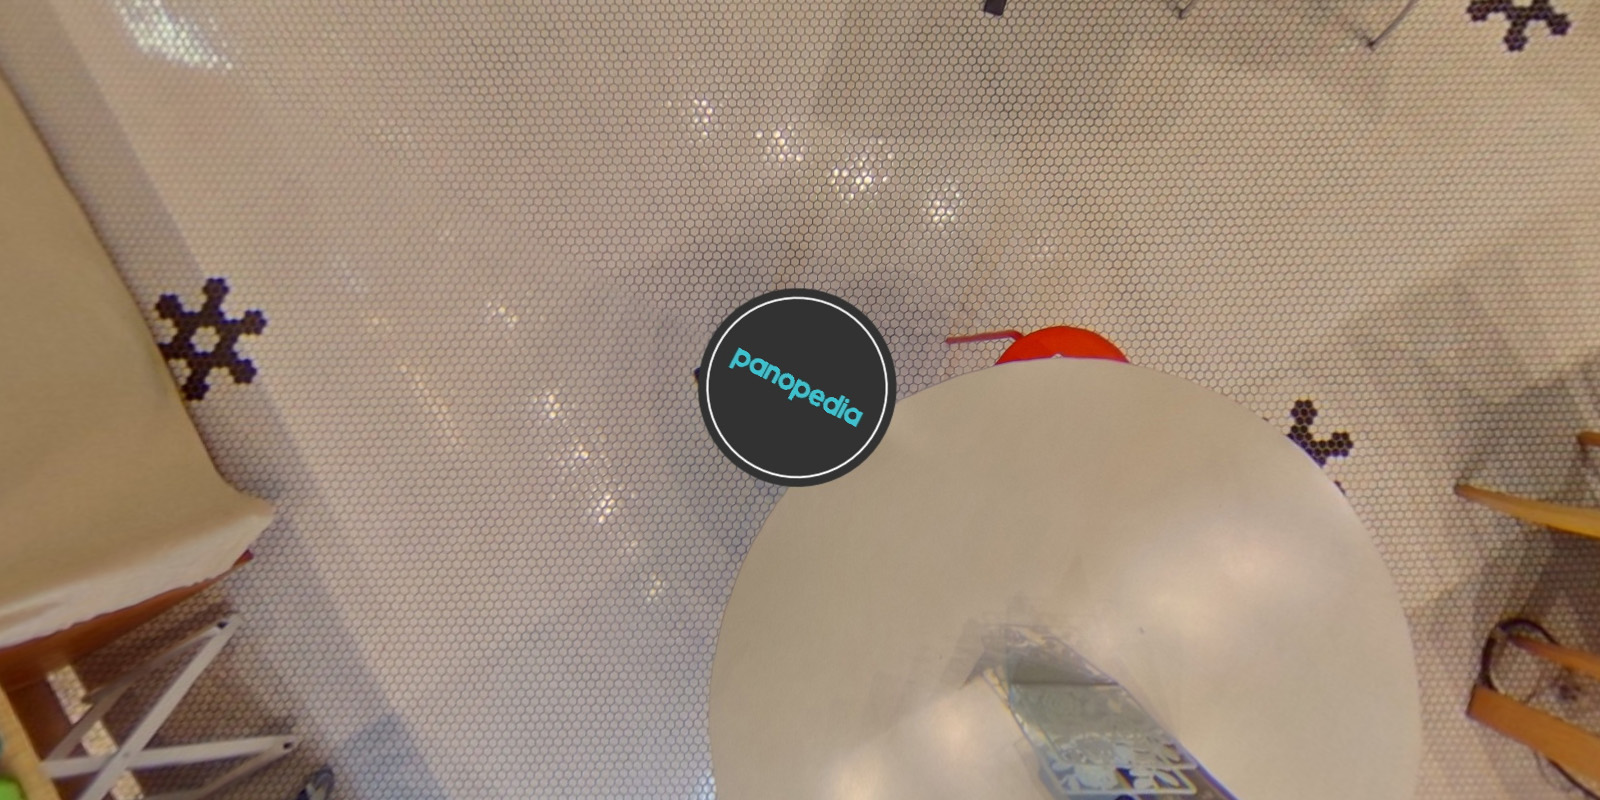
To start off, you would need to produce a circular image that will cover your tripod in the 360 photo. For this example, we will use Panopedia’s logo. We recommend the following settings for the circular image:
- Height/Width: 640 pixels
- Resolution: 30 DPI
- Image background: transparent
- File type: PNG

Step 1
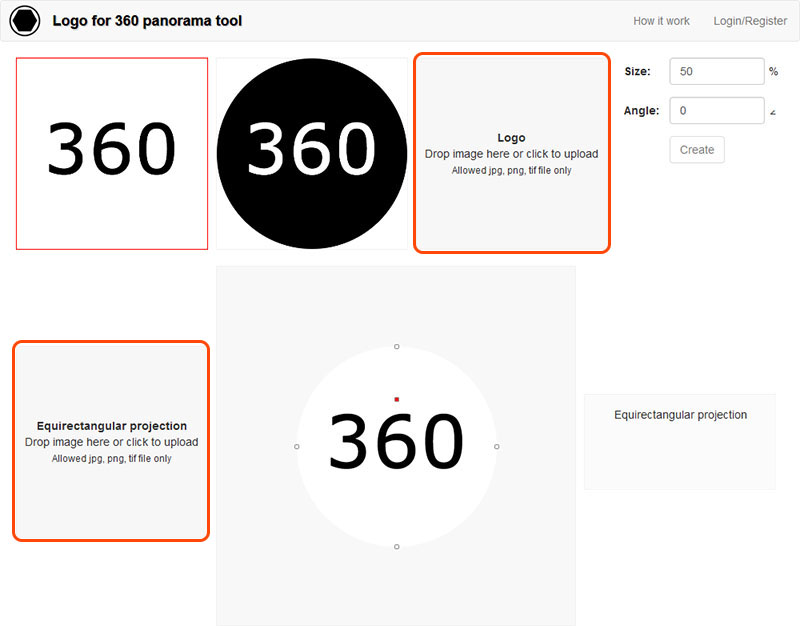
Once you have this image, we can start off with the patching. Go to https://www.nadirpatch.com and choose on this option:
Step 2
On this page, you may upload your logo in the last box of the first row (indicated by the thick red box), and any 360 photo you have taken in the second row (indicated by the thick red box). The 360 photo uploaded here is merely a reference on this site.
Step 3
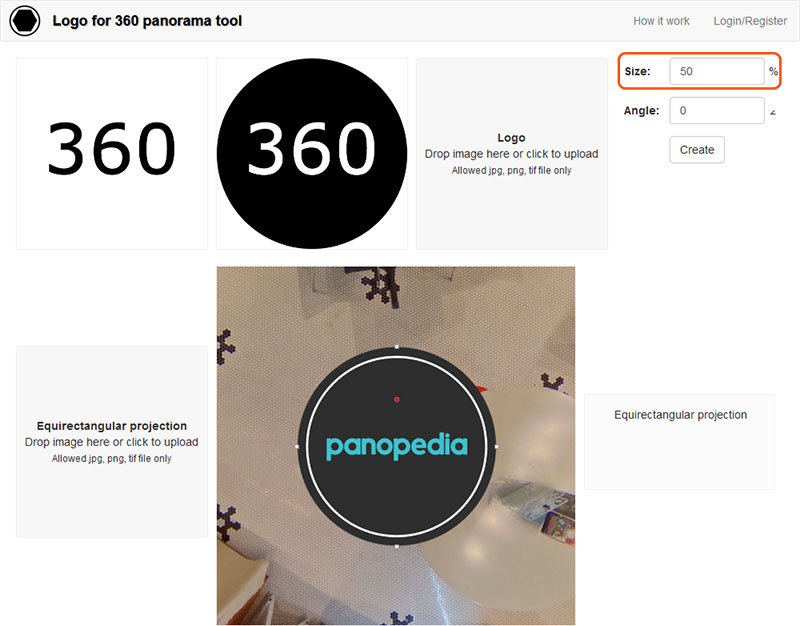
Once you have uploaded both images, you will be able to see the simulation like the image below. The logo image at default of 50%, we find it to be too big. For most small footprint monopods, 20% is a good size while 35% is good for tripods. Adjust the size by typing into the box indicated by the thick red outline.
Step 4
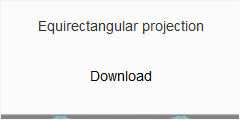
Once you are satisfied with the size, click on Create. In the box where it says Equirectangular projection, click on Download to save the generated file.
Step 5
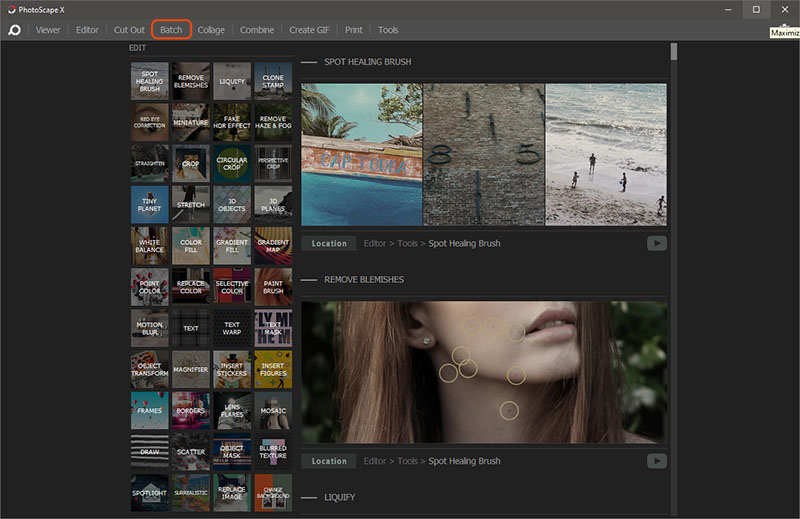
Next, we are ready to patch all our images using our newly generated patch. Open the PhotoScape X photo editor, and click on Batch in the top menu.
Step 6
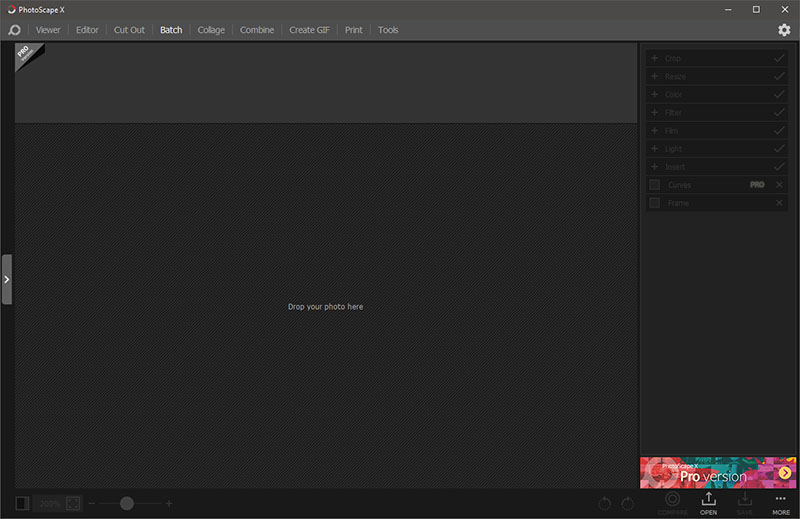
Drag and drop your photos from your folder into the empty space in the center of the application.
Step 7
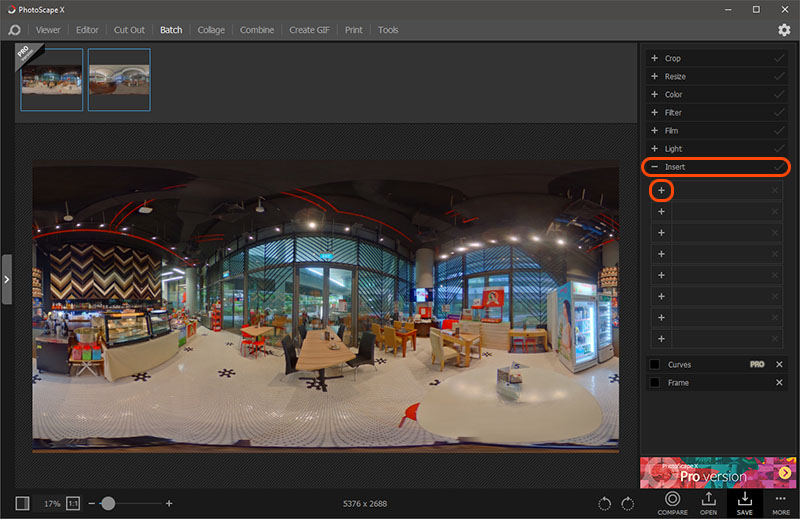
All your added images will be shown at the top row. On the right column, click on Insert, followed by the + icon on the first row. This is ‘pre-recording’ the actions that will be performed for all images you have added now, and for new images you will add later even after you have switched off your computer. Everytime you open PhotoScape X from now on, you don’t have to repeat this process anymore.
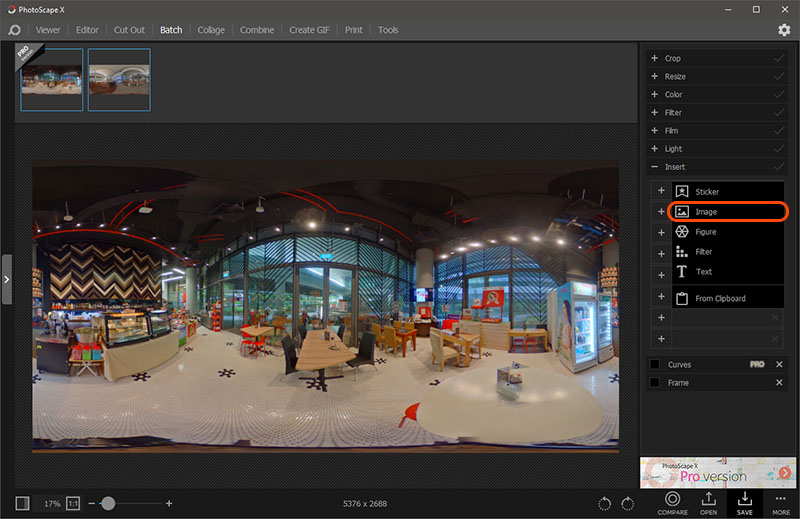
Step 8
Click on Image when the dropdown menu appears. Choose the patch we have downloaded from nadirpatch.com earlier in Step 4.
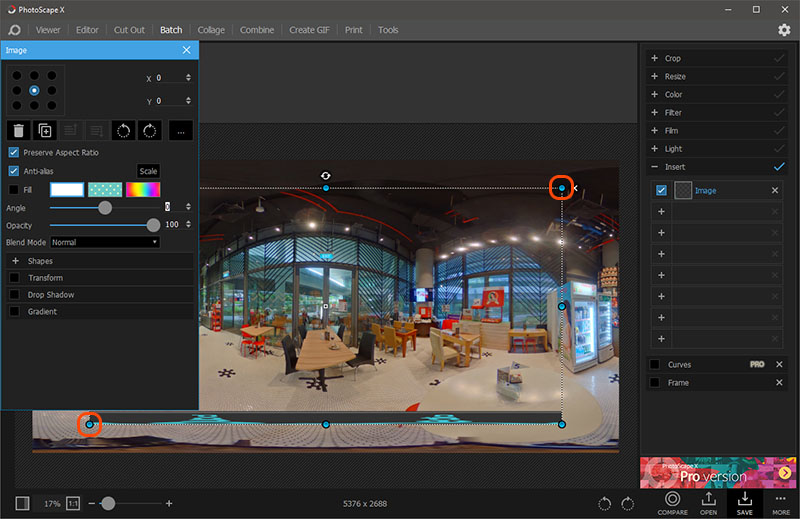
Step 9
Now the patch have been laid on top of our 360 image, at the top right and bottom left of the layer, hold Shift on your keyboard, click and drag it until the top and bottom edges snaps to the edge of the 360 photo.
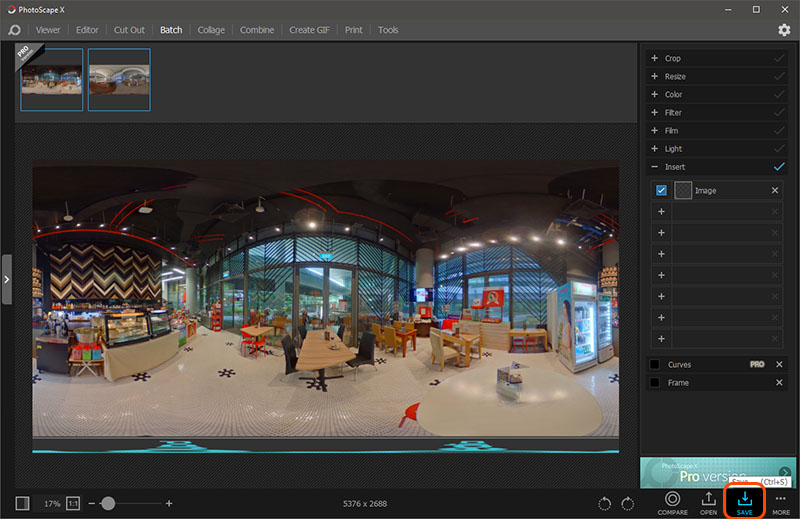
Step 10
Now that the patch is nicely positioned right at the bottom, at the bottom right of PhotoScape X, click on Save.
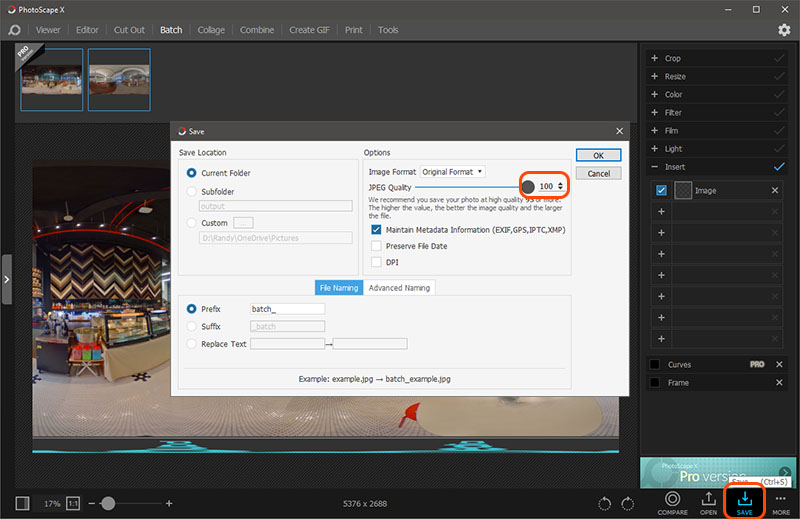
Step 11
The Save dialog box will appear, make sure your JPEG Quality is at 100, and click on OK. You may also choose your save locations anywhere you like.
Now, you may proceed to create your Panotours on Panopedia now! Do remember that, the next time you Open PhotoScape X, you may simply skip steps 7 to 10 as it will have already been recorded.