

1. Lighting
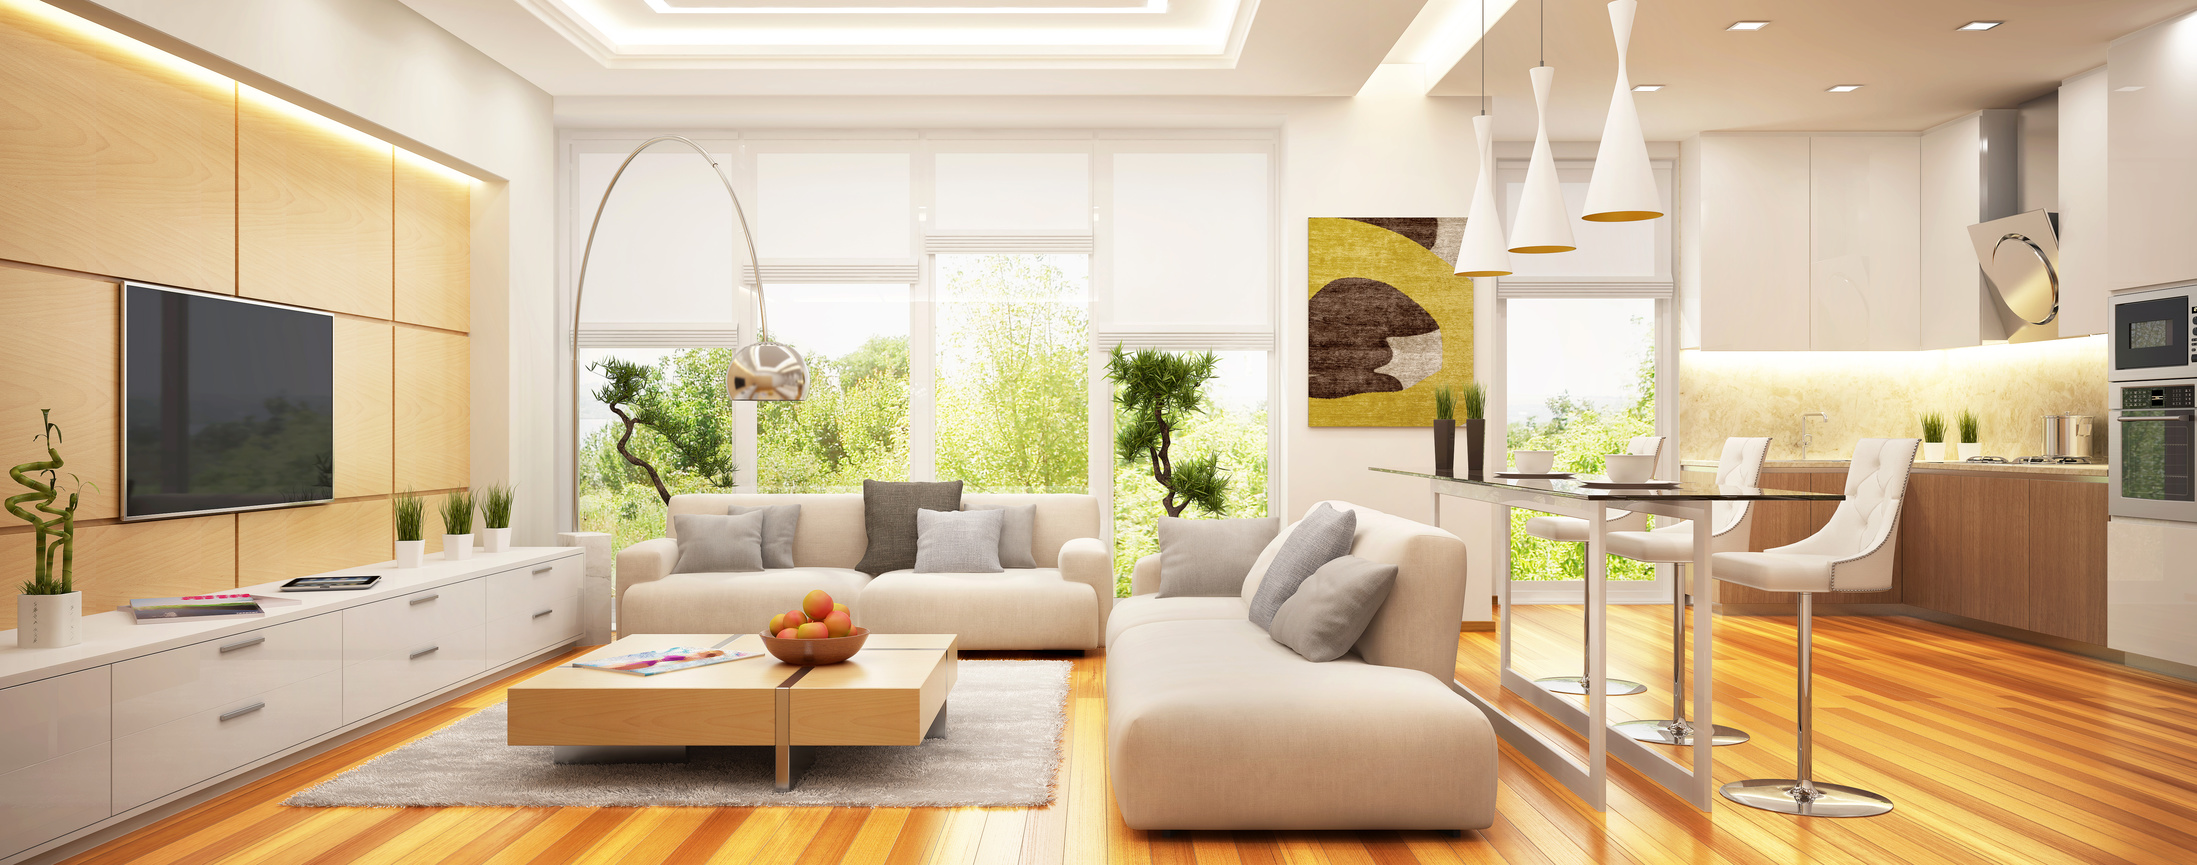
Light and illumination are the basics of photography. The very word “photography” comes from two Greek words, phos meaning light, and graphis meaning drawing. Hence, photography can be described as “drawing with light”.
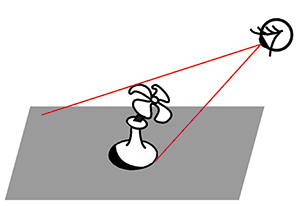
If you ask me to name the most important thing in photography, I would say light. Without light, there is no illumination. In a room without illumination, everything is pitch black. You can’t see a thing. Taking a shot – assuming your camera allows you to – produces a solid black photograph. You switch on a lamp, and you send light across the room, and everything is illuminated. Now you can take a photograph and show something in the picture. You realize that your eye and the camera both needs light and illumination to work.
Photography is about capturing light and recording it, whether on paper, or more frequently now, in a digital format. As a photographer, you can control the amount, intensity and duration of light required to create the picture.
One advantage of using a 360 Camera is the ease of use. There isn't so much to take note of when position for your shot unlike traditional camera's concern about capturing the right lighting. The concern is only when under dim condition is where quality will be affected generally. So what you need to know most importantly is only 2 simple things when taking photo with a 360 Camera. Firstly, switch on all the lights in the room and pulling up all the curtains to allow as much sunlight as possible. This will be sufficient enough to get good quality shots with a 360 Camera.
2. Balance
Professional photographers usually toggle with the balance of the camera to frame the idea shot, expressing the feeling they wish to portray out of a photo. Even for the leisure photographer, do you remember the last time when you were taking different shots of your food or photo of yourself just trying to find the best photo that portrays the desired feel?
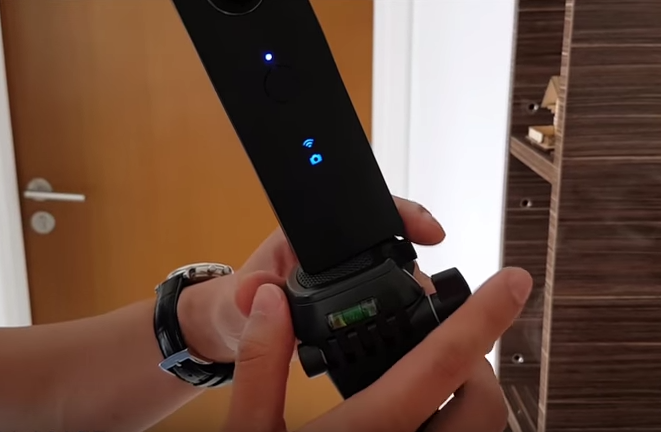
The benefit of using a 360 Camera is you only need to remember to keep your 360 Camera straight up. Because of the nature of the surrounded image that 360 Camera produce, balance is not a significance issue, thus another plus point of why 360 Camera is a must have.
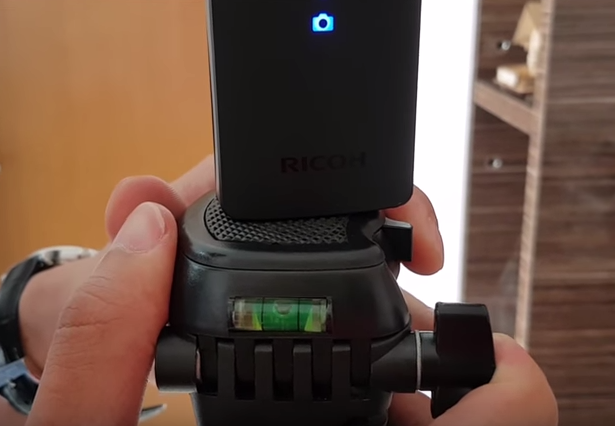
3. Above waist level
This is very simple and straightforward. Always make sure your camera is taken above waist level, ensuring your image will give your user an eye-level point of view. Avoid placing camera on the floor or anywhere lower than the waist will provide a more professional looking result.
4. Right camera settings
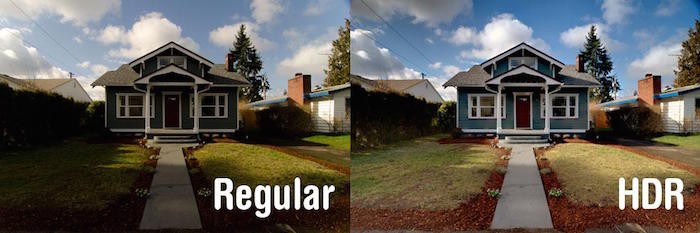
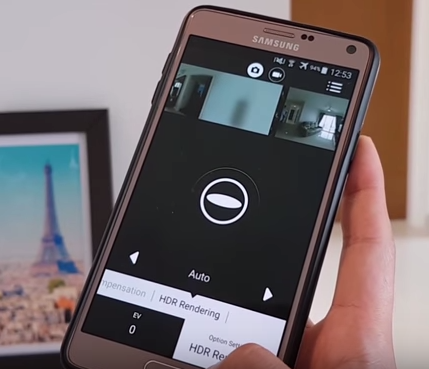
With numerous camera settings available, for a beginner this can be both confusing and daunting. Manual exposure, aperture priority, ISO, shutter speed may all sound demanding for a normal user. Another reason why we highly recommend the Ricoh Theta cameras is because of it’s ease of use. Its like the Apple of all 360 Cameras with its user friendly settings and control. Users new to 360 photography need to know only one thing, and that is setting your camera setting on the phone’s app to HDR mode. Ricoh did a great job in creating simple settings like HDR mode for beginners so now anyone can take great photos. HDR stands for high dynamic range, and it essentially takes a series of images, each shot with a different exposure from darkest to lightest. This is currently only available for the Theta cameras. So if you are using a Theta camera, remember to set it to HDR mode before shooting.
Another common problem of using a 360 Camera is shooting in fluorescent lighting. The lighting and illumination will look distorted in images. The solution to tackling such problems is changing your shutter speed to 1/50, or shooting it with auto mode may work as well.
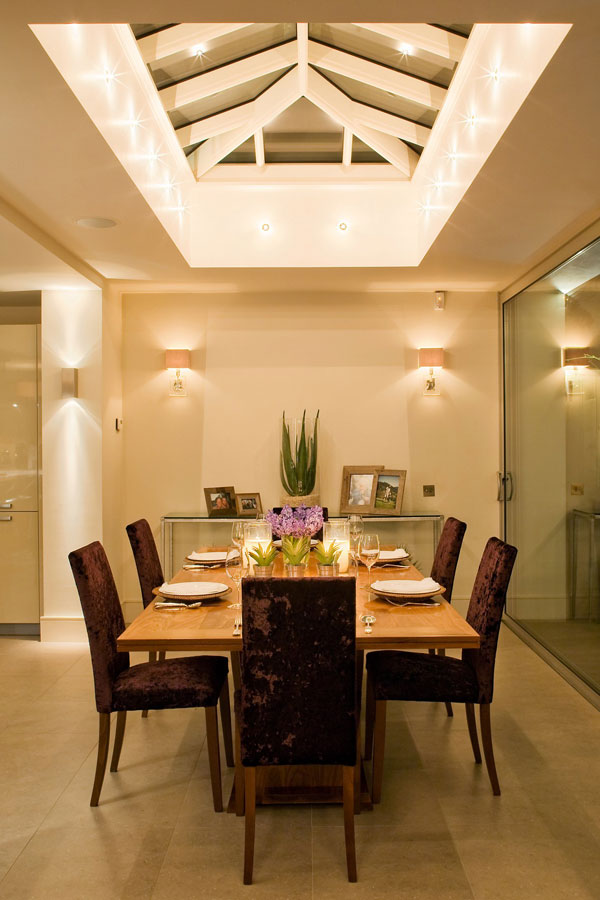
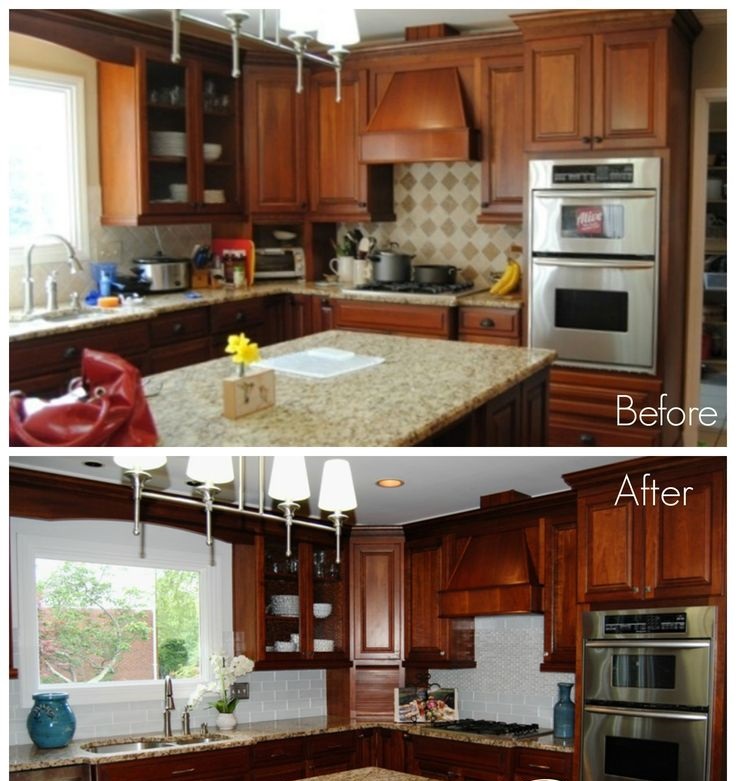
5. Staging
Home staging is the act of preparing a home for sale in the real estate marketplace. The goal of staging is to make a home appealing to the highest number of potential buyers, thereby selling a property more swiftly and for more money. Staging techniques focus on improving a property's appeal by transforming it into a welcoming, attractive product that anyone might want. People usually use arts, painting, accessories, lights, greenery and carpet to stage the home, to give potential buyers a more attractive first impression of the property.
After understanding the importance of staging, there is only 2 main point that user should take note of when taking photo for their virtual tour.
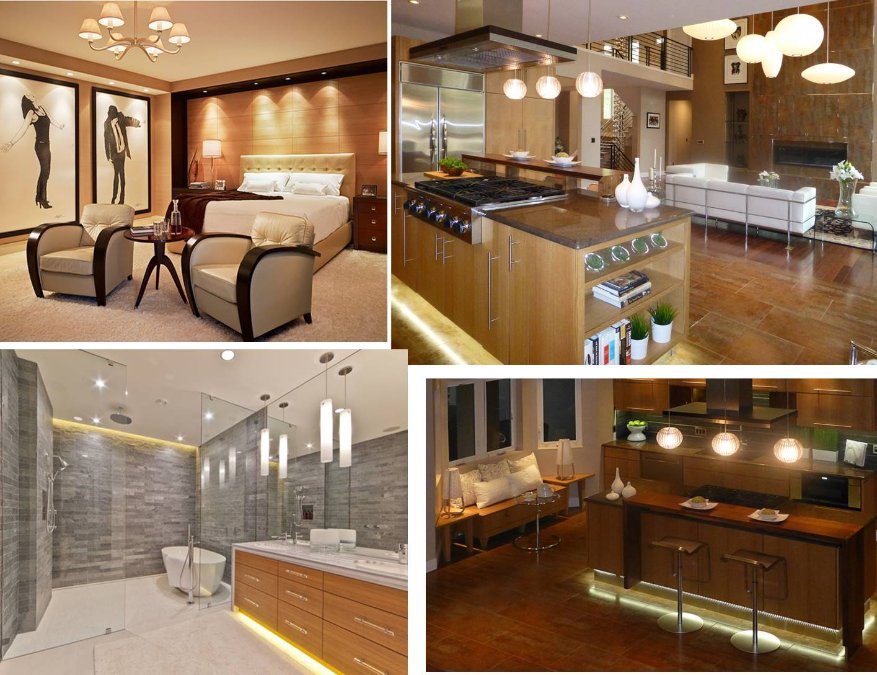
1. Always make sure the home is kept tidy and presentable. Giving potential buyer a homey feeling or a visualisation that this is their future home, is vital in deciding if this is going to be their future home. A good first impression always count nevertheless.
2. Engaging a professional stager. Empty homes leaves an empty feel to some buyer after viewing it. You can’t really blame them as there will always be viewers with poorer imagination, so do consider it a worthy investment as a professional stager can transform an empty home into a dramatic one that everyone dream of owning. Leaving a deep impression of that home is vital so eventually it will help you to sell off your home quicker.
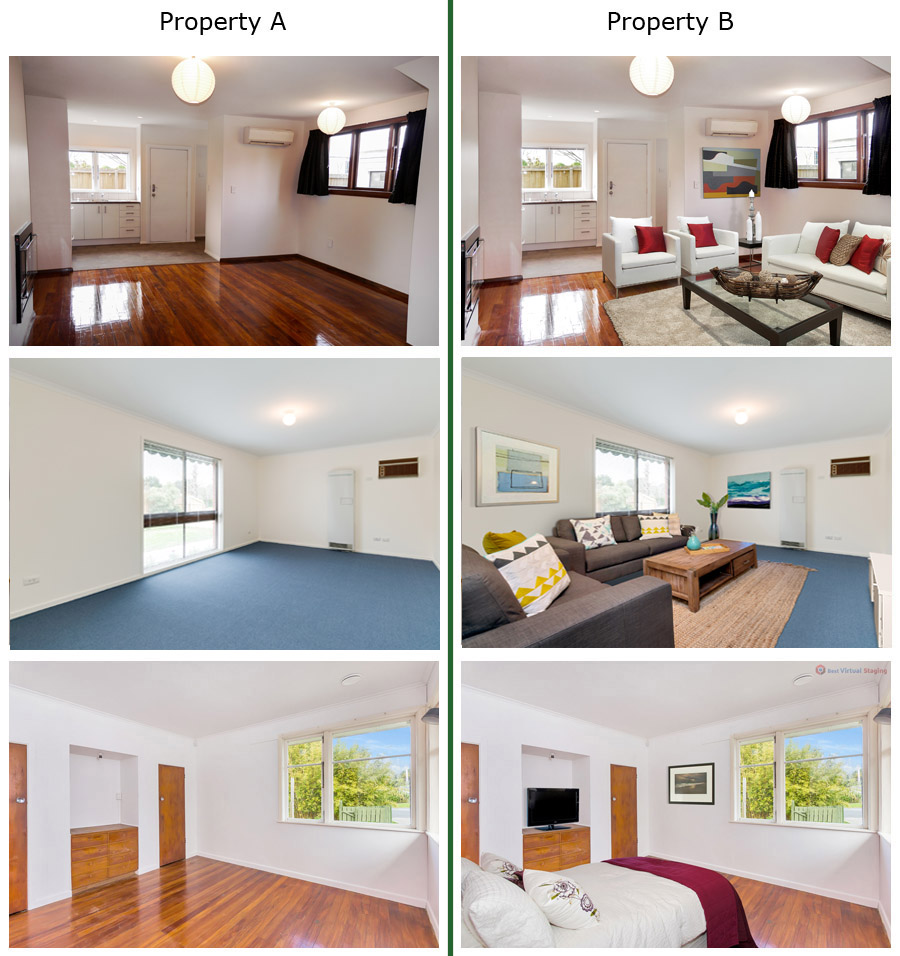
Notice the significance difference in an empty and staged home? There's a reason why 80% of the population are not artistes because they have bad visualization. So its your job to show them and help them visualize a home they will live in the future. On the day they sign the option to purchase, you be glad to find all this worth the investment. There are many home furnishing company that provide home staging services . Look it up in google and you will find one easily.
6. User experience
Last but not least, user experience is also another important thing to take note of when creating virtual tour. You should always try to place your camera at the middle of the room so your viewers can navigate easily. Also try to keep to a recommended minimal amount of images or scene in a virtual tour . Ever heard of too much of anything is no good. Same logic applies here as too much images can be confusing sometimes and that will leaves a bad impression to your prospective buyer. We recommend an average of 7 to 10 scene per virtual tour . For larger landed homes, try to keep it under 20.
Conclusion
With this 6 basic tips, you are ready to start taking your panoramic photos for your virtual tour. Follow the guide here for a more detail step by step on how to do it.